Thursday, May 16, 2019
Have you been struggling with updating data using Excel on Business Central? There is a solution - one of the convenient features of Microsoft Dynamics 365 Business Central is the ‘Edit in Excel’ functionality. After reading this blog post you should be able to set up the add-in in half an hour or less. The script provided in the blog allows you to run a fully functional ‘Edit in Excel’ add-in with just a few clicks.
Note that this is the second part to the “How to integrate Office 365 Single Sign-On with Business Central using PowerShell” blog post. After all the requirements which were described in the mentioned blog have been met, Office 365 authentication for Business Central is enabled, you can then create the Azure AD app for the Business Central Excel add-in. You can easily set up this Azure app for the Excel add-in through the portal and not necessarily through the script.
In Business Central, users can open the list page in Excel with the ‘Open in Excel’ action, but this action does not allow to import the updated data back to Business Central. The new ‘Edit in Excel’ action in Business Central allows you to add the data and save it back. After setting up this add-in, the ‘Open in Excel’ action name will change and will be replaced by the ‘Edit in Excel’ action.
If you are running the same session from the previous blog, you can skip this one following section of the script, where libraries for Azure AD and Business Central are imported and parameters are set up.
#if AzureAD powershell is missing, it will install required package
Install-Module -Name AzureAD -FORCE
#importing BC powershell modules so required commandlets could work
Import-Module "C:\Program Files\Microsoft Dynamics 365 Business Central\130\Service\Microsoft.Dynamics.Nav.Management.dll"
Import-Module "C:\Program Files\Microsoft Dynamics 365 Business Central\130\Service\NAVWebClientManagement.psm1"
#Provide Global Admin credentials of the Office 365 tenant
$Credential = Get-Credential
#lets connect to the AzureAD
Connect-AzureAD -Credential $Credential
#Setting up parameters
$BCServerInstance = '<instanceName>' #BC instance name
$domainName = '<DomainName>' #Public domain name of the server running BC instance, for example:server.domain.com
$fullAddress = $BCServerInstance +'.' + $domainName #combine BC instance name and Domain name for reply address
Once the libraries were uploaded and parameters are set, we can move on to creating the new Azure app for Excel Addin.
New-AzureADApplication -DisplayName "Microsoft Excel Addin" -HomePage "https://$($fullAddress):8080/" -ReplyUrls "https://az689774.vo.msecnd.net/dynamicsofficeapp/v1.3.0.0/*" -oauth2AllowImplicitFlow $true
Start-Sleep -Seconds 5 #lets wait for some time to create App successfully
#Find required Excel and BC apps to use parameters later
$ExcelAppObject = Get-AzureADApplication | where{ $_.displayname -eq "Microsoft Excel Addin" }
$BCAppObject = Get-AzureADApplication | where{ $_.displayname -eq "Microsoft Business Central for $BCServerInstance" }
After running these scripts, you will be able to see the Azure app within Azure portal. Next, we need to set permissions for users and Business Central application, so they can access the new app.
#Set Permissions so BC could access Excel add-in on Azure AD
$req = New-Object -TypeName "Microsoft.Open.AzureAD.Model.RequiredResourceAccess"
$acc1 = New-Object -TypeName "Microsoft.Open.AzureAD.Model.ResourceAccess" -ArgumentList $BCAppObject.Oauth2Permissions.Id,"Scope"
$req.ResourceAccess = $acc1
$req.ResourceAppId = $BCAppObject.AppId #BC App
#Set permissions so Azure AD users could access Excel add-in
$reqe = New-Object -TypeName "Microsoft.Open.AzureAD.Model.RequiredResourceAccess"
$acc1e = New-Object -TypeName "Microsoft.Open.AzureAD.Model.ResourceAccess" -ArgumentList "311a71cc-e848-46a1-bdf8-97ff7156d8e6","Scope"
$reqe.ResourceAccess = $acc1e
$reqe.ResourceAppId = "00000002-0000-0000-c000-000000000000" #AzureAD
#complete the permission part
Set-AzureADApplication -ObjectId $ExcelAppObject.ObjectId -RequiredResourceAccess @($req,$reqe)
We have finished with Azure AD configurations. Afterwards, we will move to Business Central configuration. We will change a few parameters in Business Central instance configuration file using PowerShell and restart the instance.
#Changing required values in NST configuration to enable Excel add-in
Set-NavServerConfiguration $BCServerInstance -KeyName ExcelAddInAzureActiveDirectoryClientId -KeyValue $ExcelAppObject.AppId
#lets restart NST instance for changes to work
Set-NAVServerInstance -ServerInstance $BCServerInstance -Restart -Force
Now you can try to connect to Business Central using Web Client and open the items page and find the ‘Edit in Excel’ button.
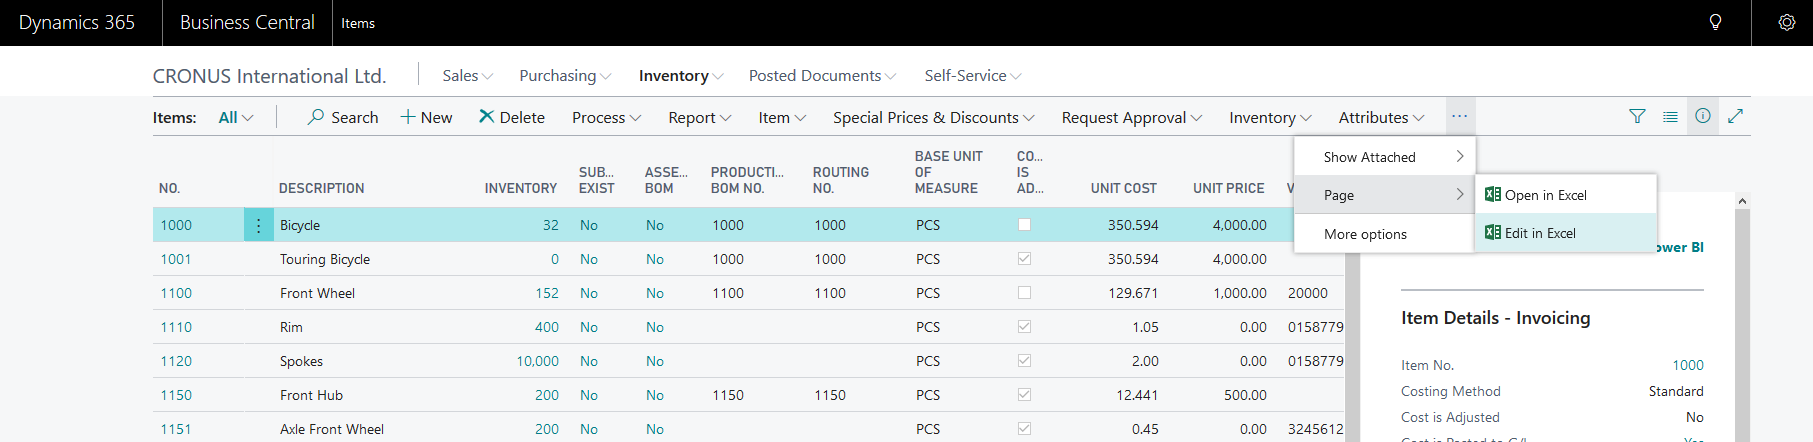
Image 1. Edit in Excel is enabled and already running.
In addition, you will need to connect to Office 365 after opening Excel.
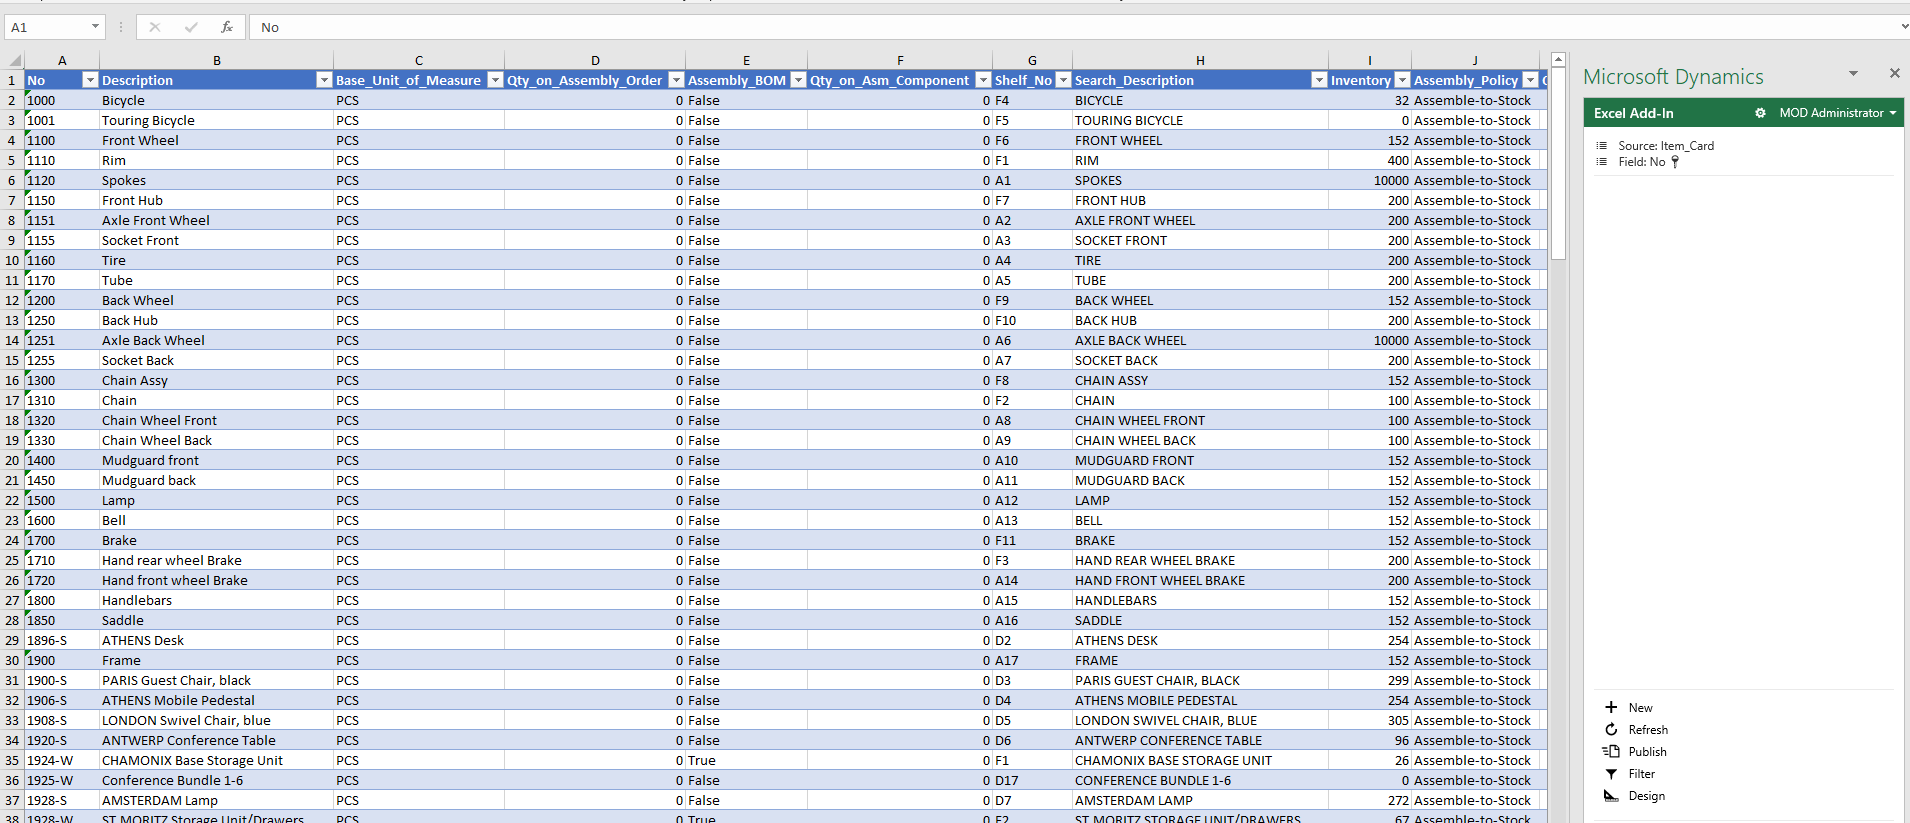
Image 2. Data display in Excel
After running the script provided in the blog post, you should be able to successfully use the ‘Edit in Excel’ functionality and update data in Business Central without any hassle.
About 1ClickFactory self-provisioning for NAV/Business Central on Azure
With 1ClickFactory Self-Provisioning for NAV/Business Central on Azure service Microsoft Dynamics Partners can easily deploy Dynamics NAV/Business Central solutions on Microsoft Azure through our platform in 1 hour or less. It’s self-service and available 24/7 on a highly secure and readily supported environment.
Click here to find out more about the 1ClickFactory Self-Provisioning for NAV/Business Central on Azure service or contact us at service@1clickfactory.com.